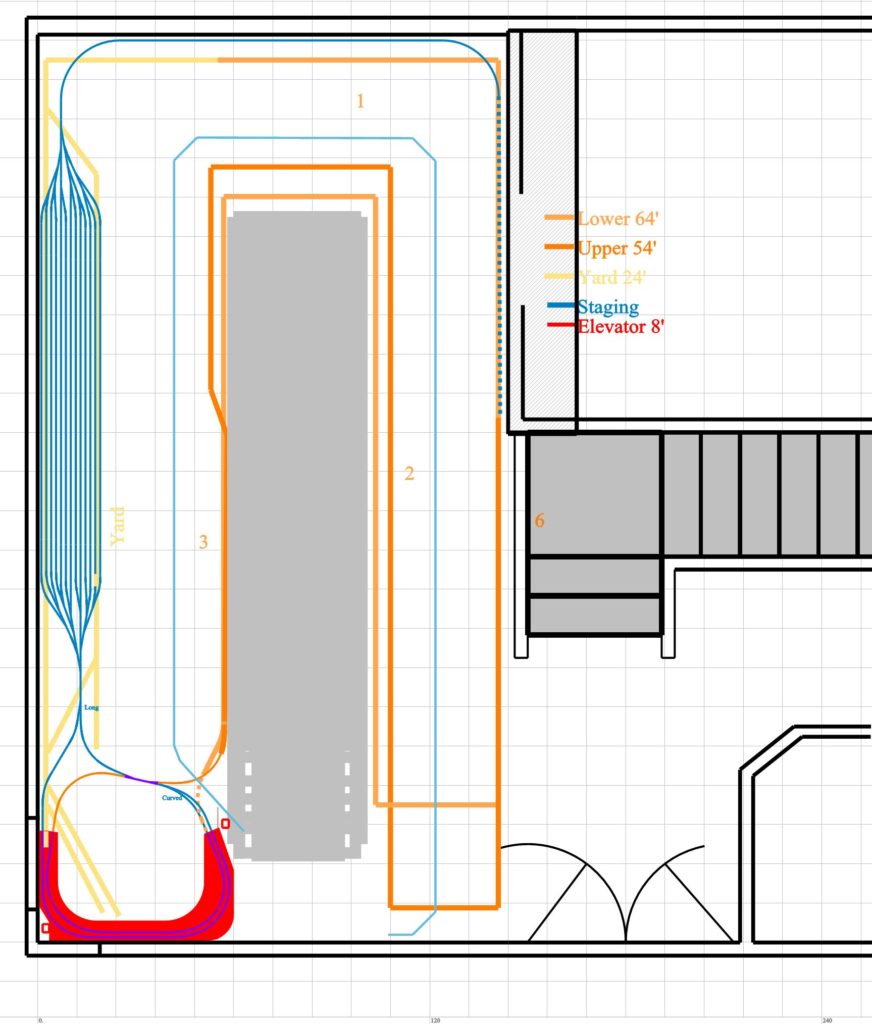
N scale mushroom layout, 3rd edition with Elevator! Design done in Cadrail V9. 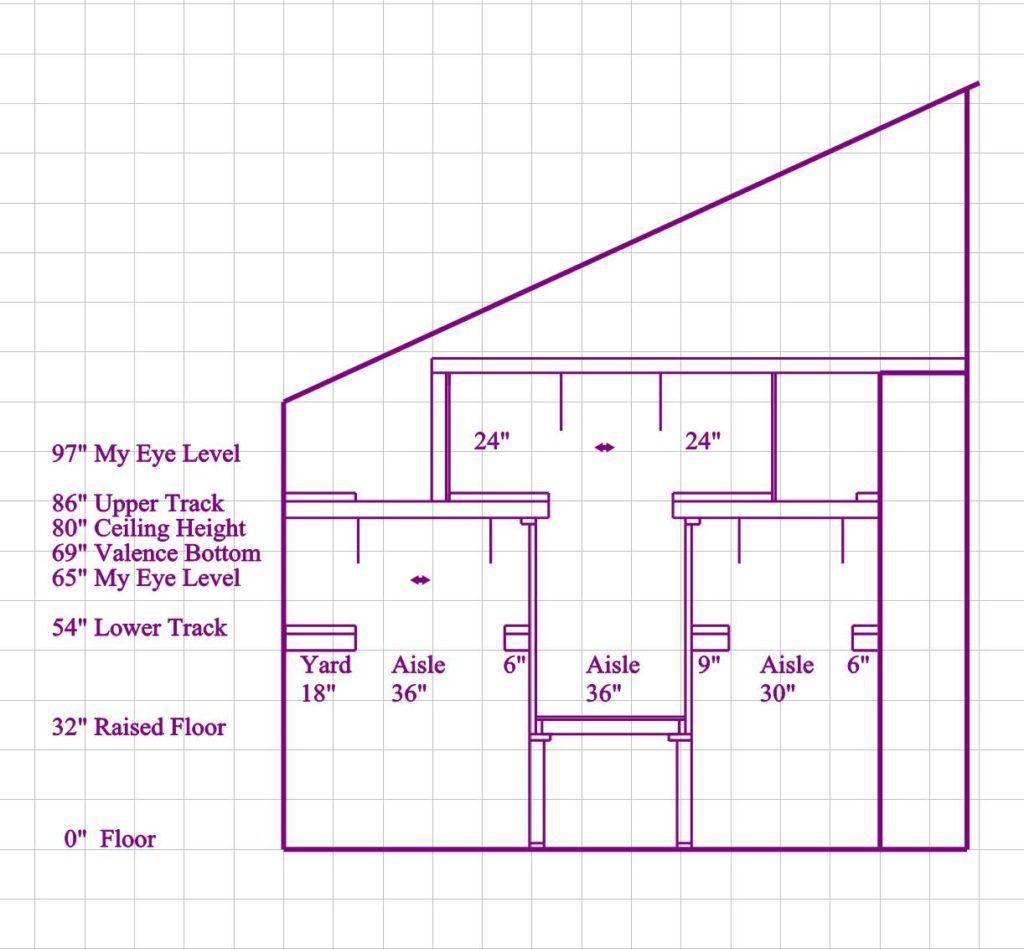
Elevation view of the mushroom design. 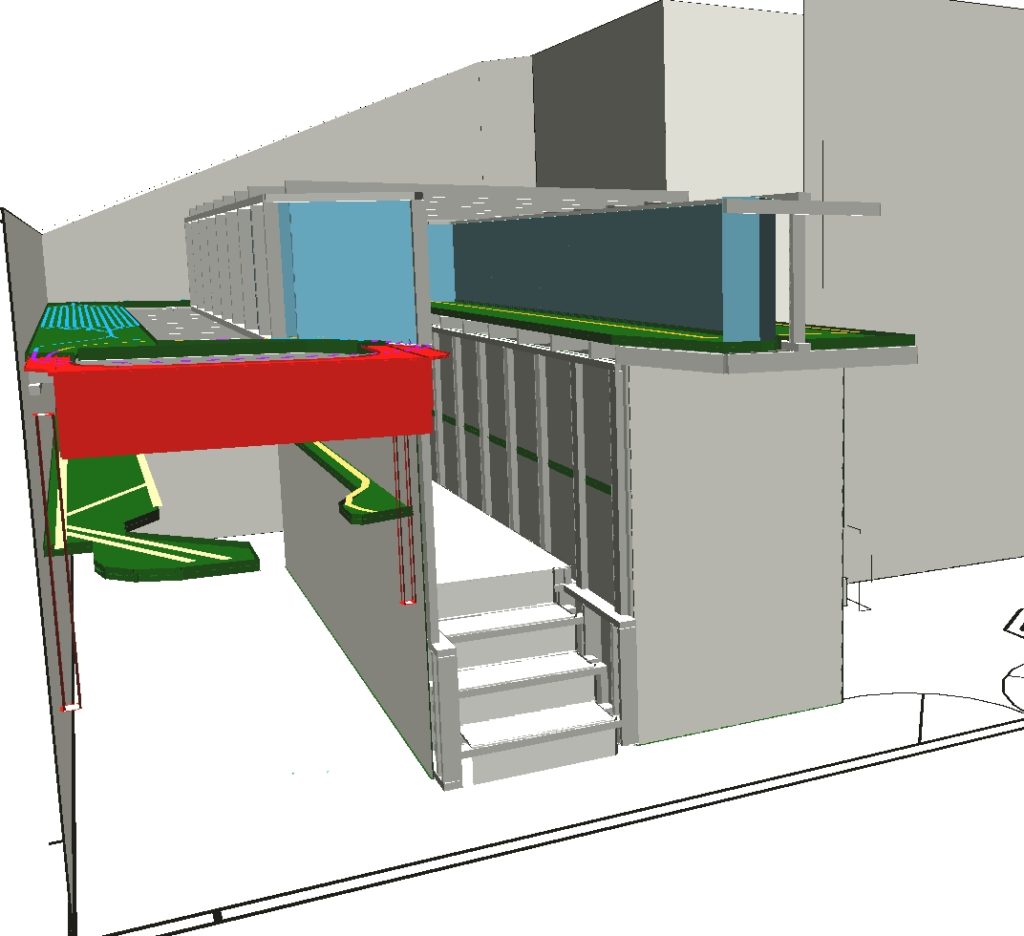
Cadrail V9 3D front view. 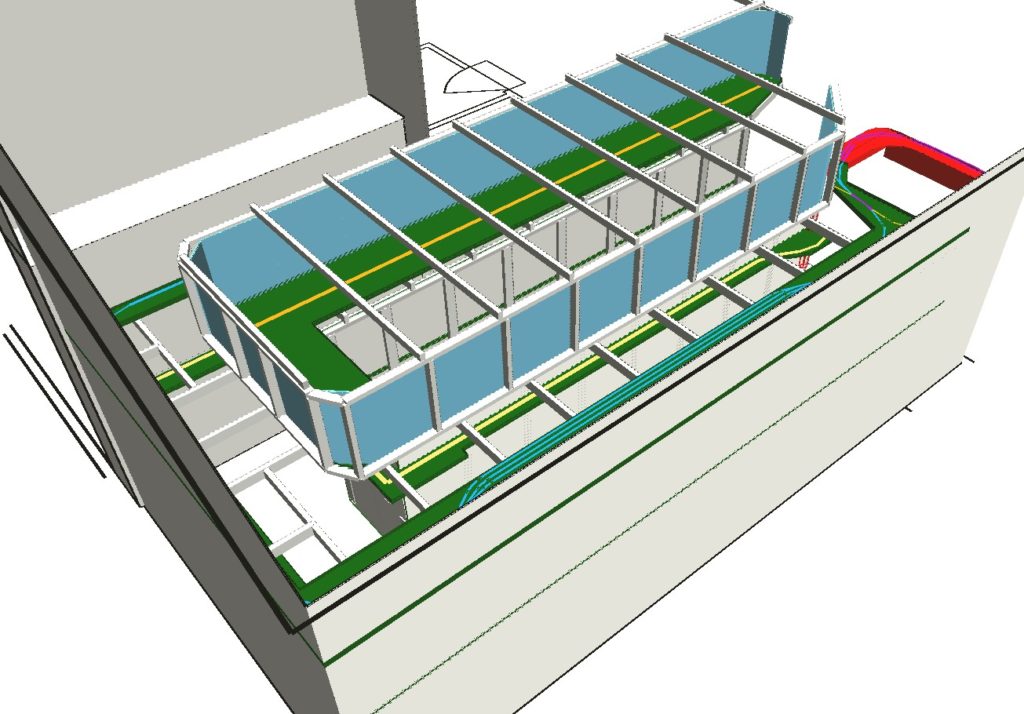
Cadrail V9 3D rear view. 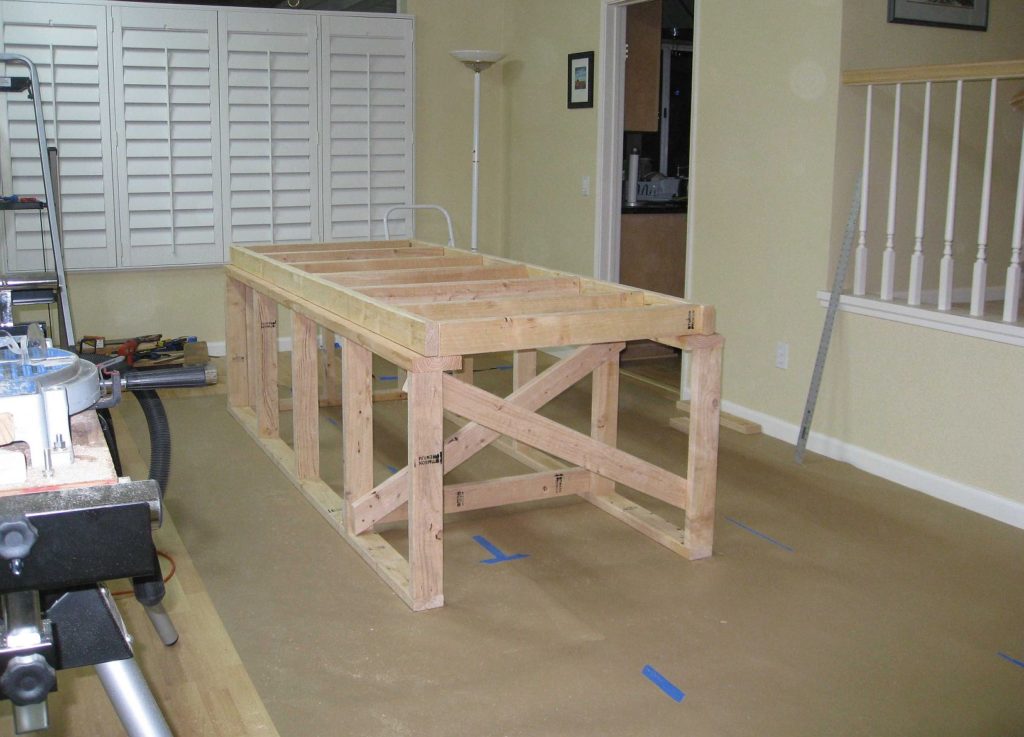
Raised floor construction underway, January, 2010. 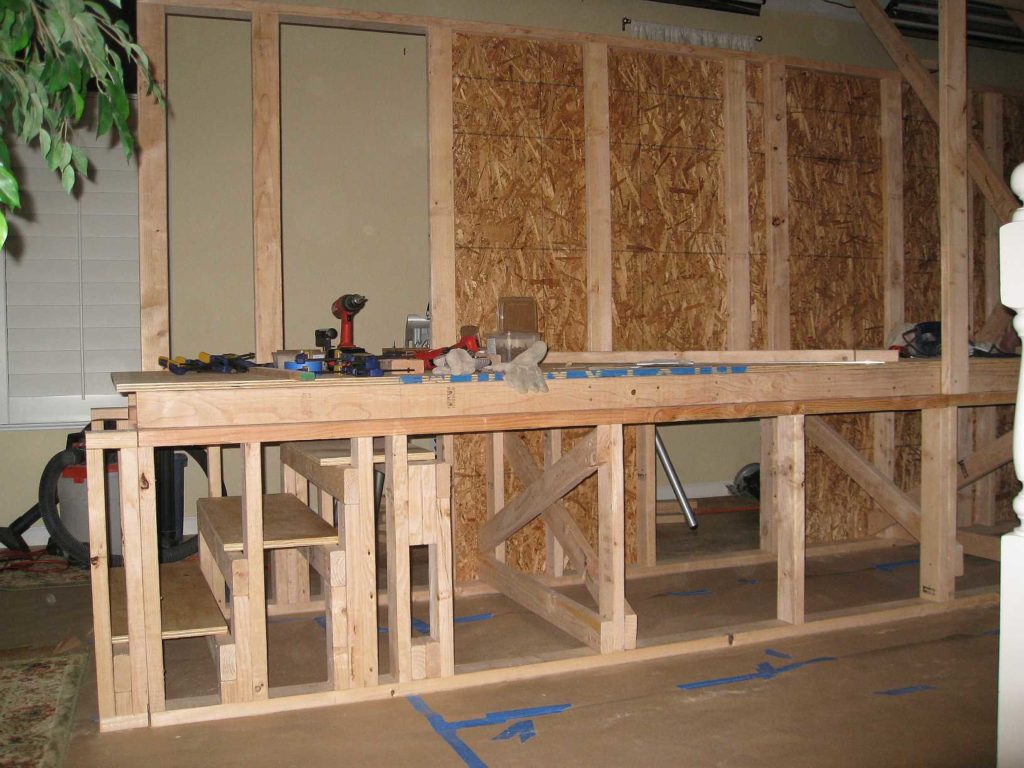
Mushroom floor and stairs complete and upper level framing underway, March 2010. 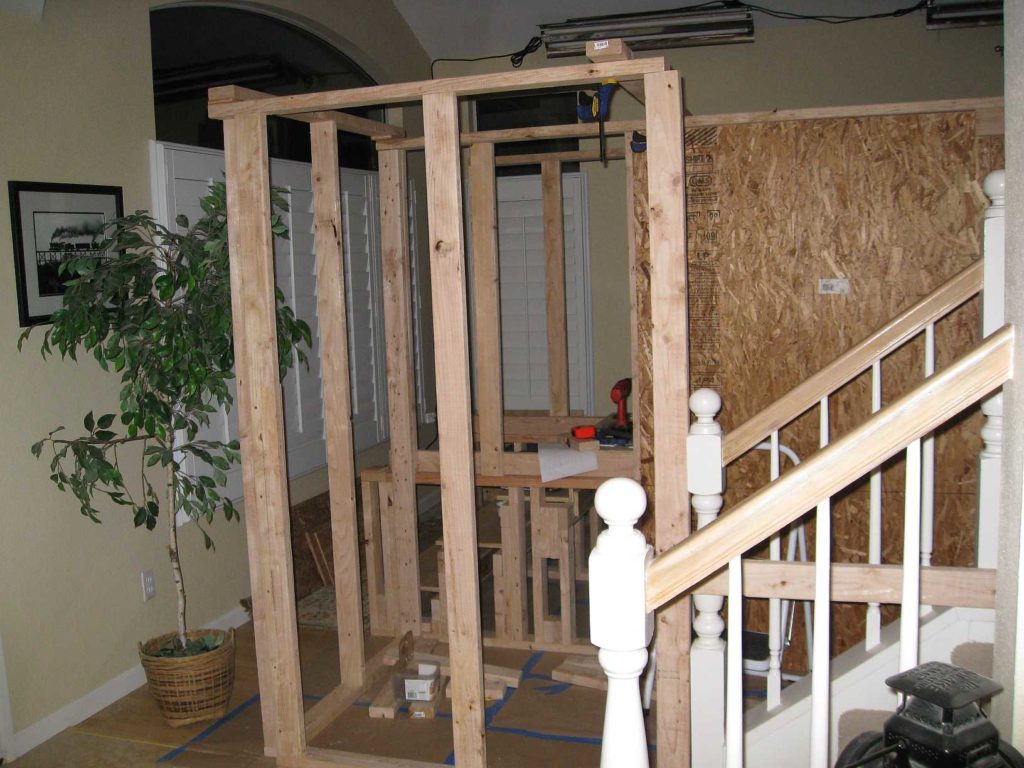
Front corner taking shape, May 2010. 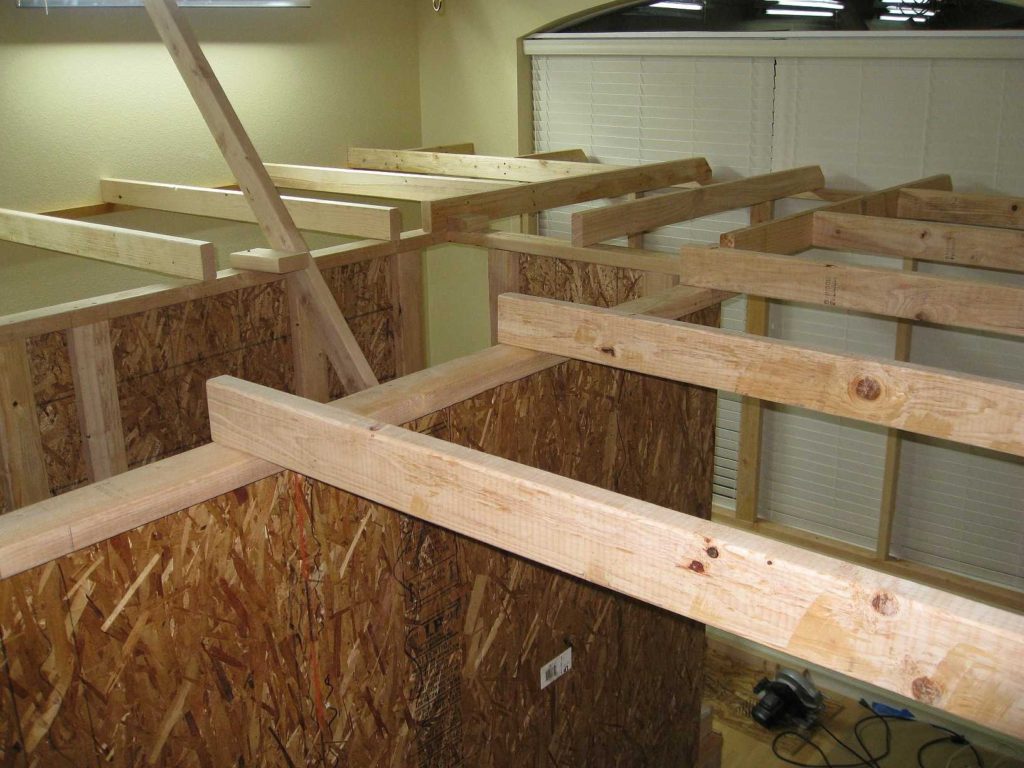
Mushroom framing complete and upper level framing going in, May 2010. 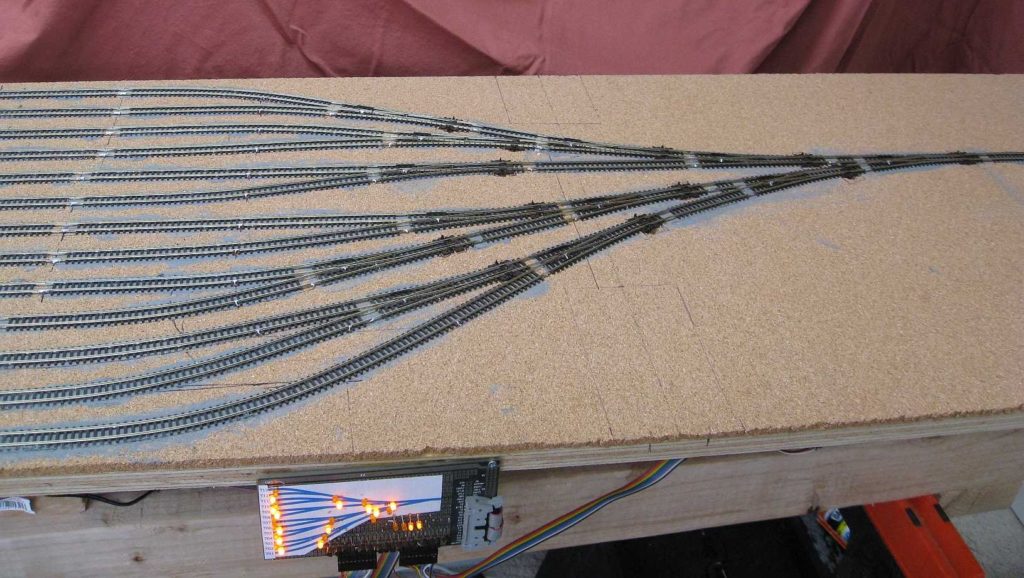
East throat of double-ended staging in the shop, Feb 2011. Notice the LED turnout display. This display was later relaced with board shown below. 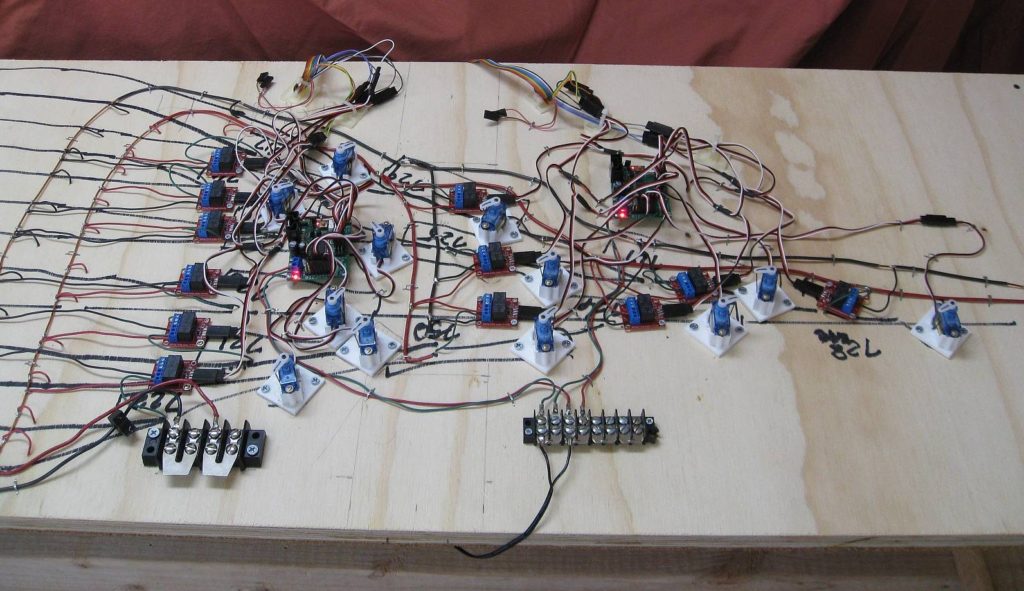
Underside view that shows servos and Tam Valley Depot Octopus servo controllers. 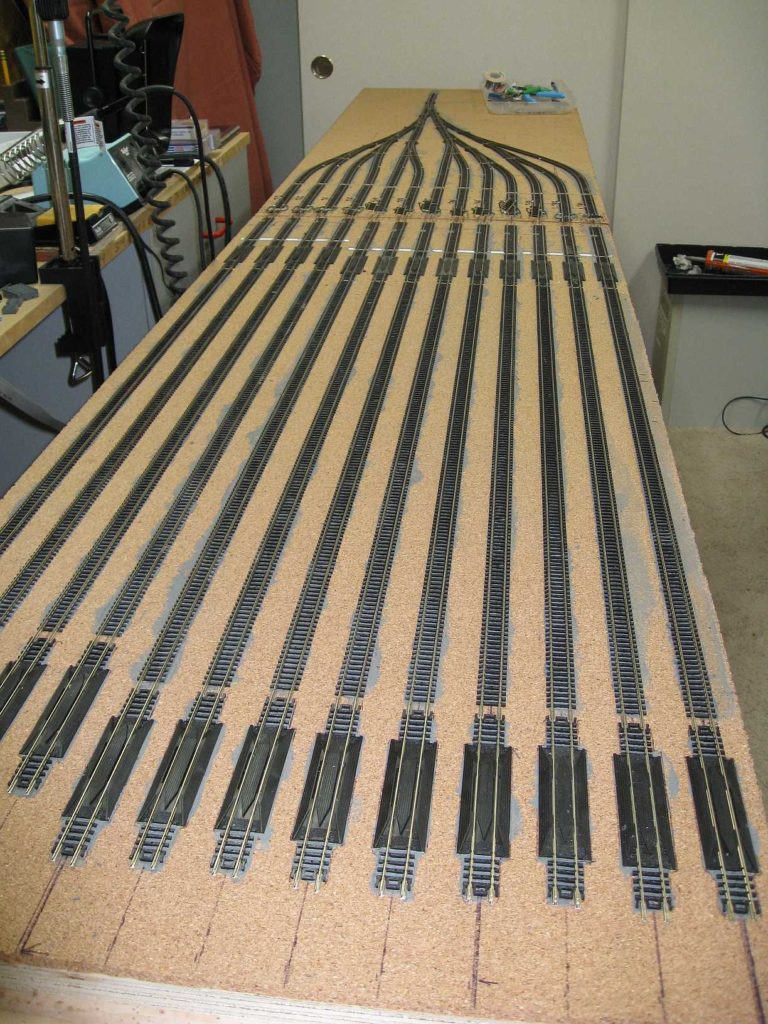
East end of double-ended staging in the shop, Feb 2011. 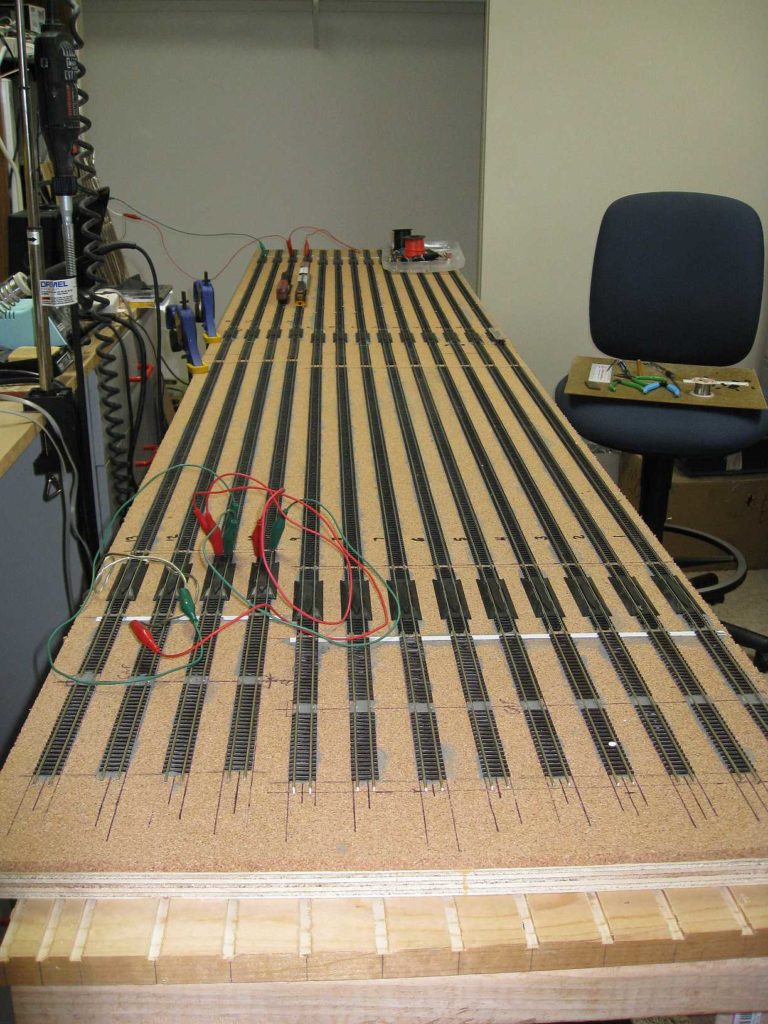
Testing staging body tracks in the shop, May 2011. Yes those engines are running! (One even has a sound decoder) 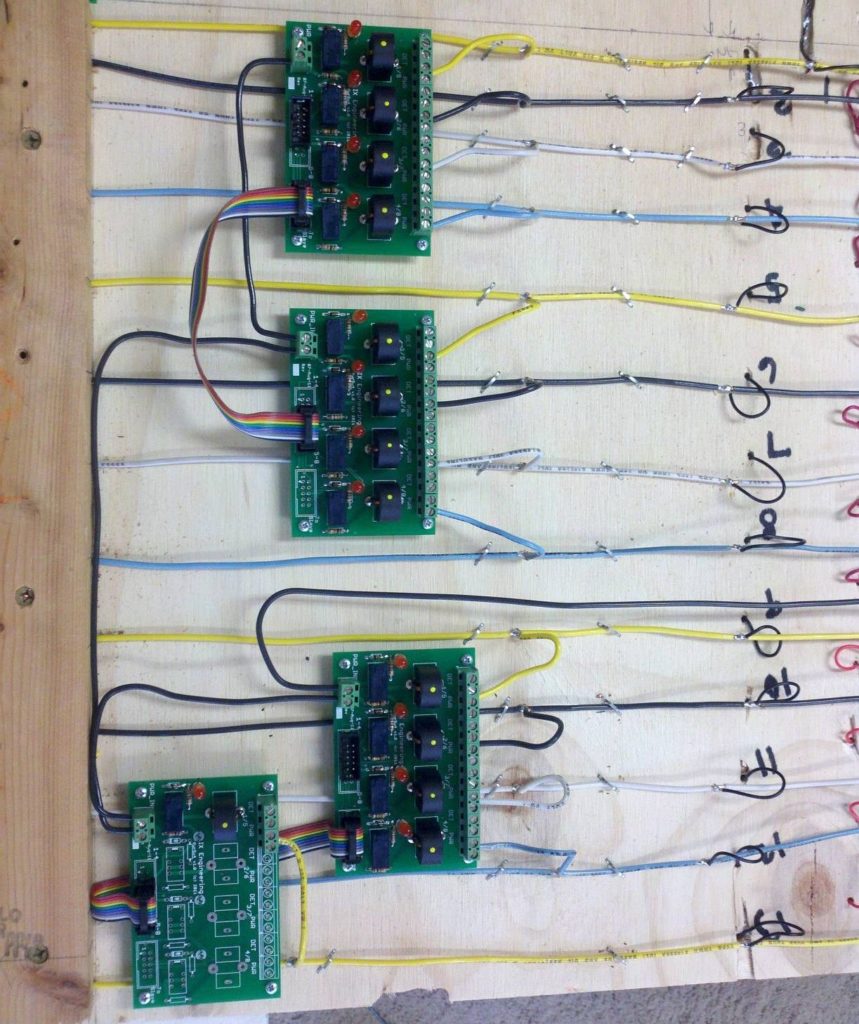
Custom control boards to switch power to each track in staging, Aug 2011. RR-Cirkits Tower Controllers will run these boards based on feedback from stopping block detectors. 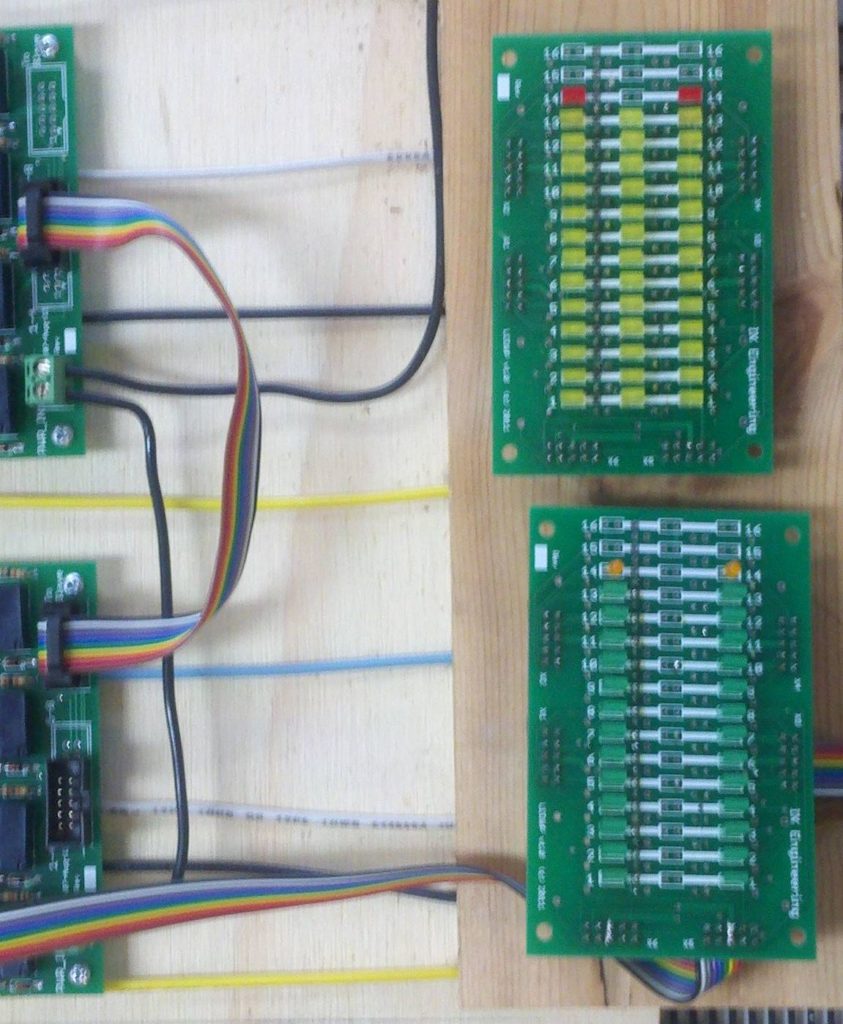
Custom display boards, Aug 2011. The version on the bottom will show staging track selection and body track power. The version on the top will show occupancy in west stopping, body and east stopping blocks. 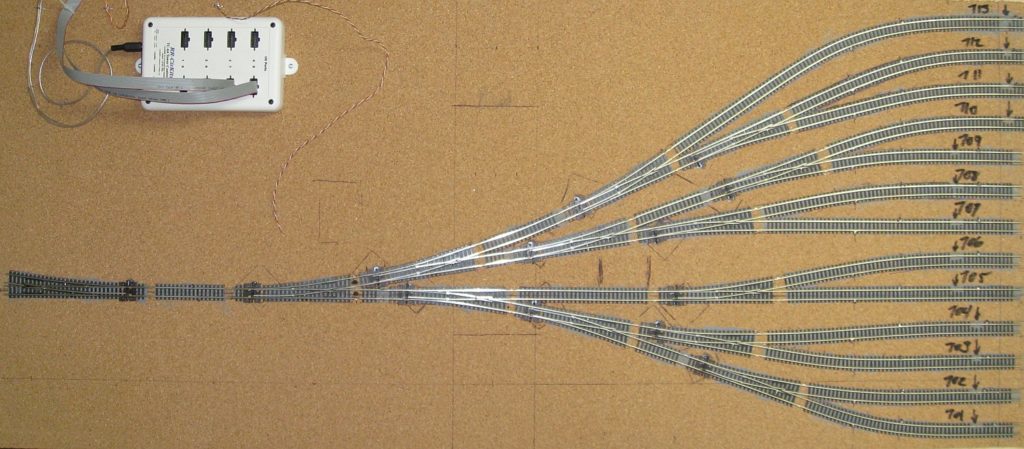
West throat of double-ended staging in the shop, Nov 2011. 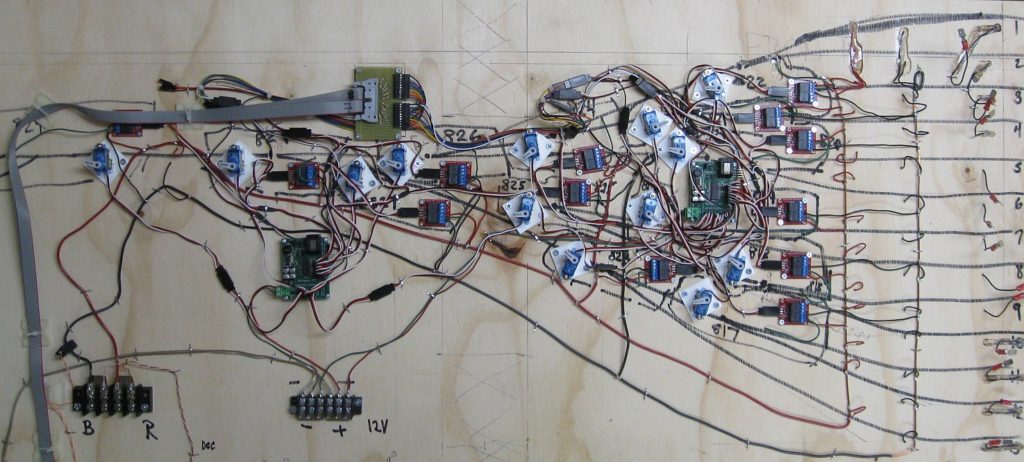
Underside view that shows servos and Tam Valley Depot Octopus servo controllers. 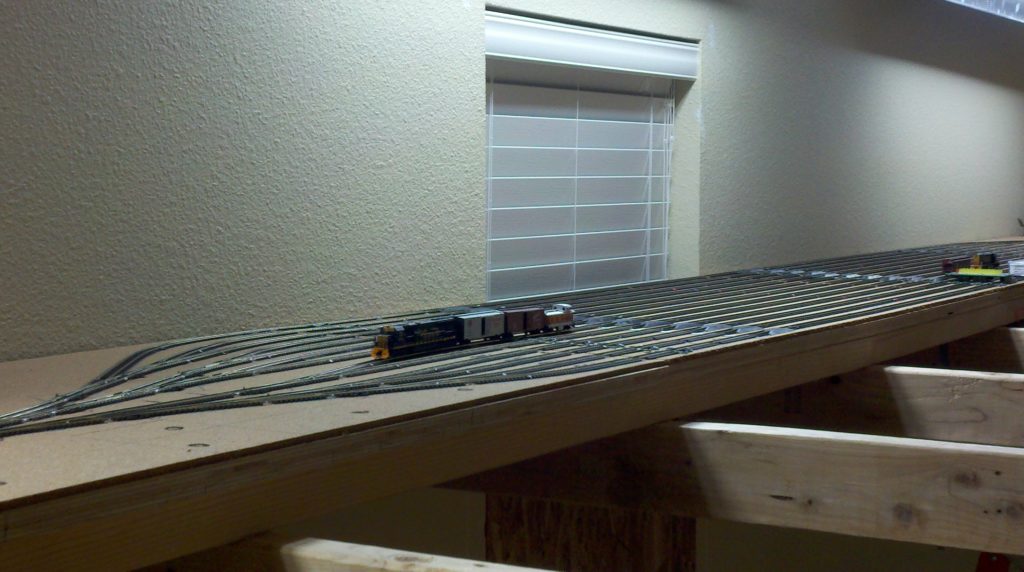
First train in staging, Nov 22, 2011. Elevation is 86″ above the floor! 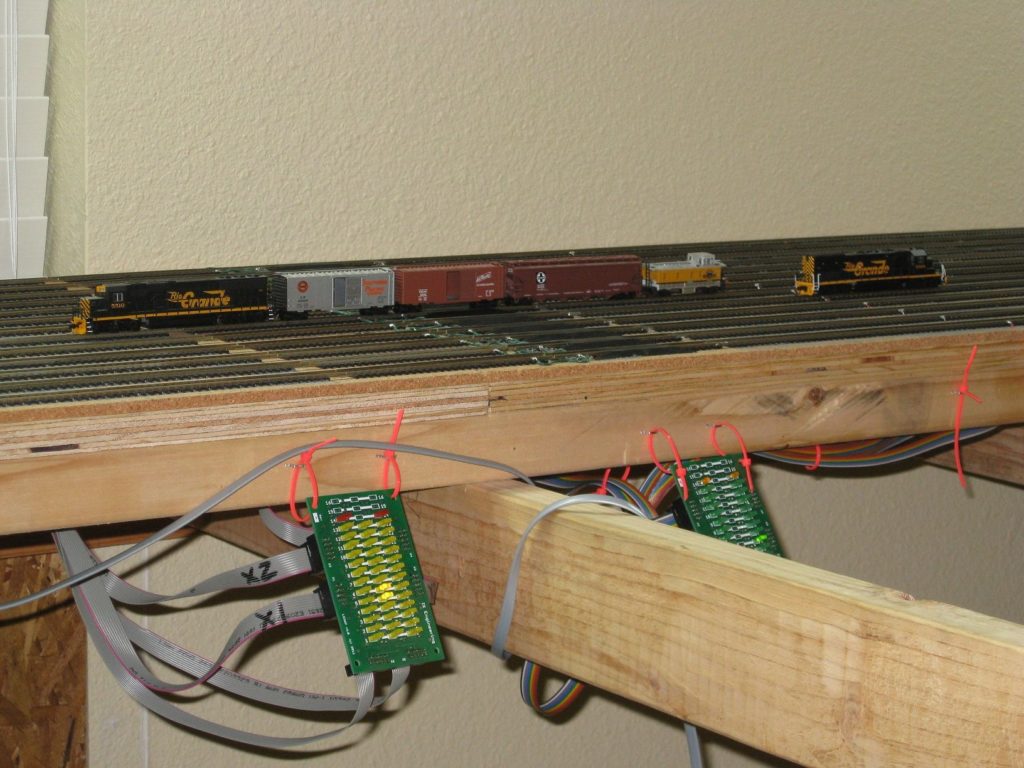
Panel on the left shows occupancy, panel on the right shows track power. 5510 is heading towards East Elevator and a long wait – there is no elevator yet! Power for 5510 will get cut automatically when it hits the west stopping block. 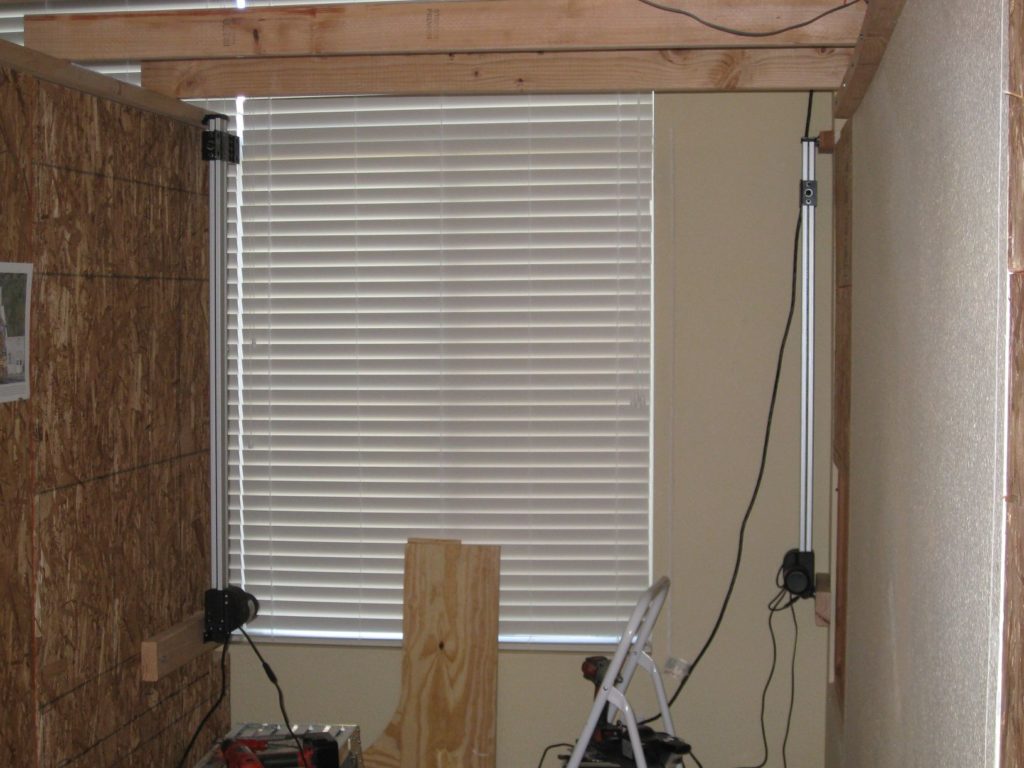
Elevator Linear Actuator Drive Mechanism, Dec 12, 2011. There are two linear actuators – one on each side of the aisle. The actuators are 40″ “Track Actuators” from Firgelli Automation. 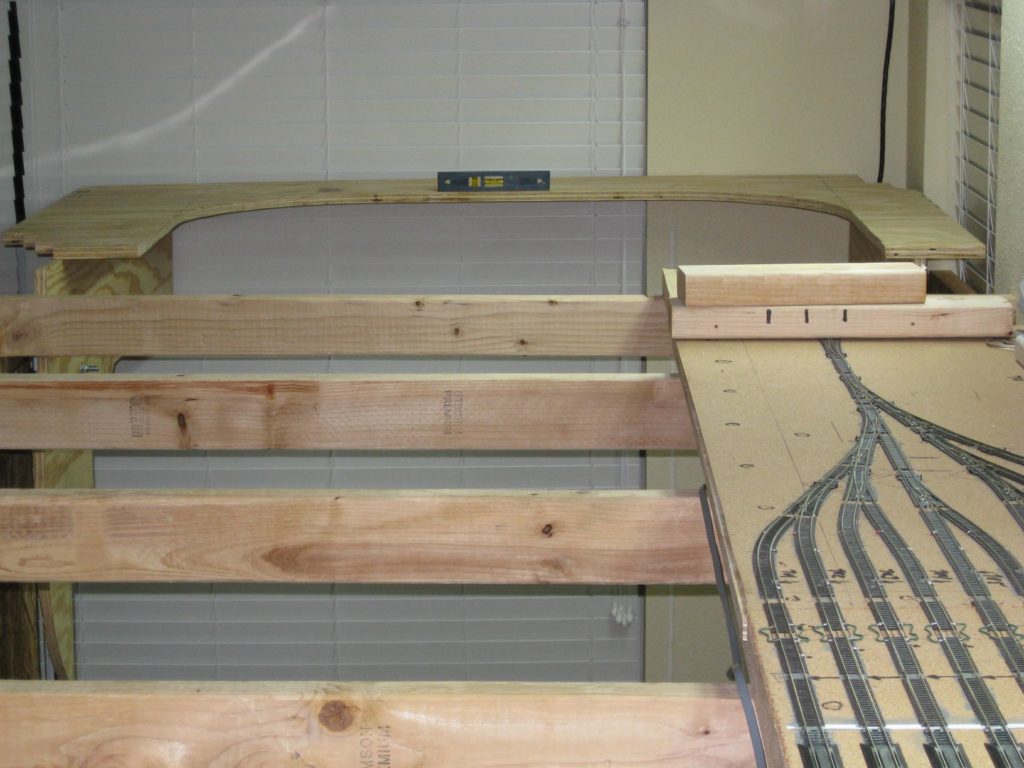
Elevator in place and raised to the upper level by the actuators. Motion was already acceptable using just on/off motor control, but it became really gentle after adding motor controllers with programmable acceleration and deceleration 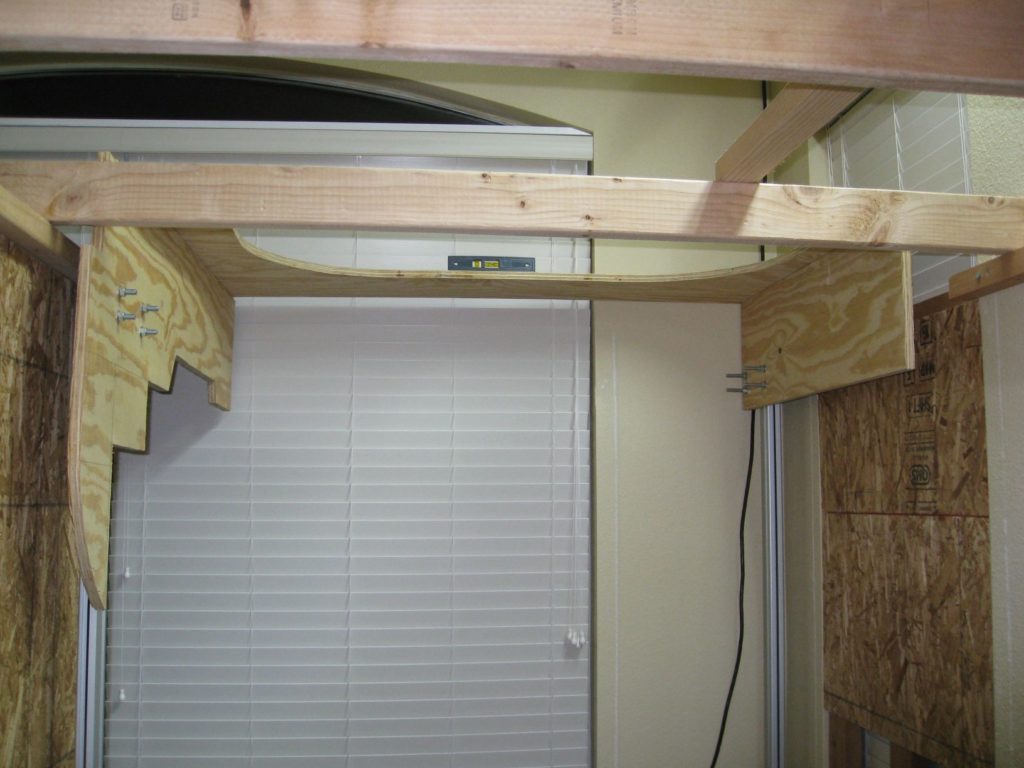
This view shows the raised elevator from below. When the elevator is in this position, the aise can be entered by walking under the left side elevator support. Clearance is 6’4″. 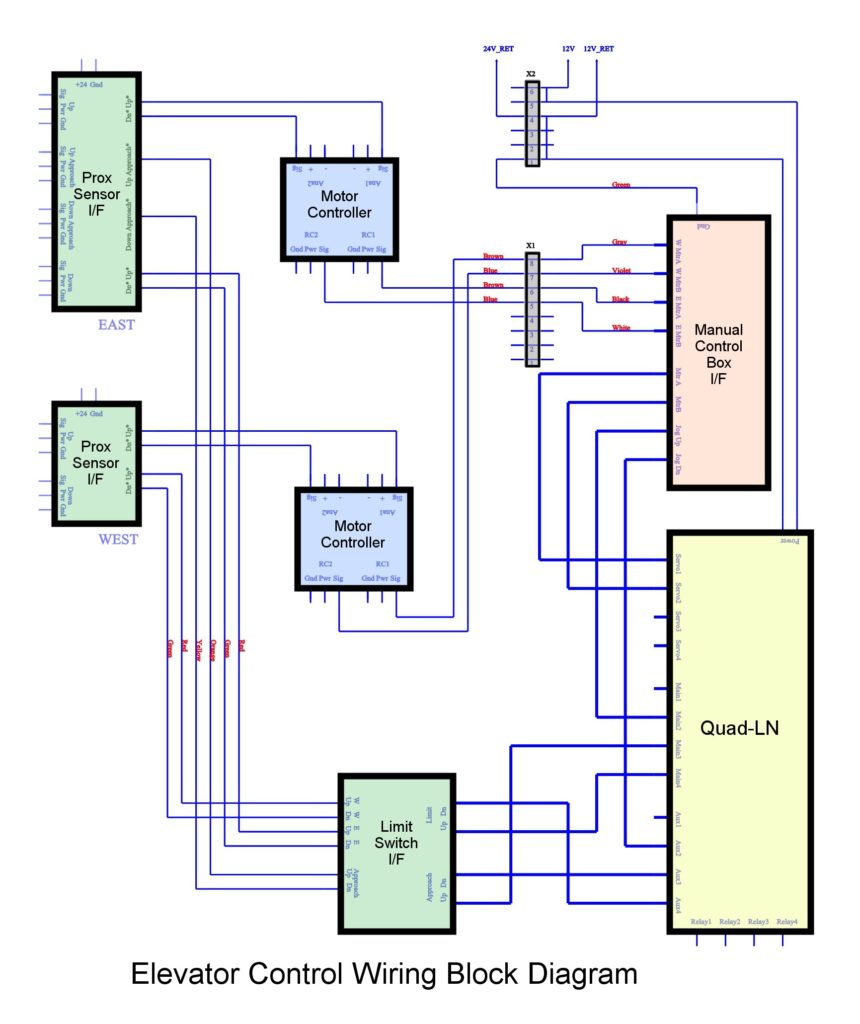
Elevator operation is now fully automated. The travel limits are detected using (non-contact) proximity sensors. A Quad-LN stationary decoder from Tam Valley Depot monitors the sensors and controls the two motors to properly position the elevator upon command. There are also Approach sensors that trigger before the Limit sensors so the Quad-LN can reduce the motor speed for a more precise stop at the Limit. 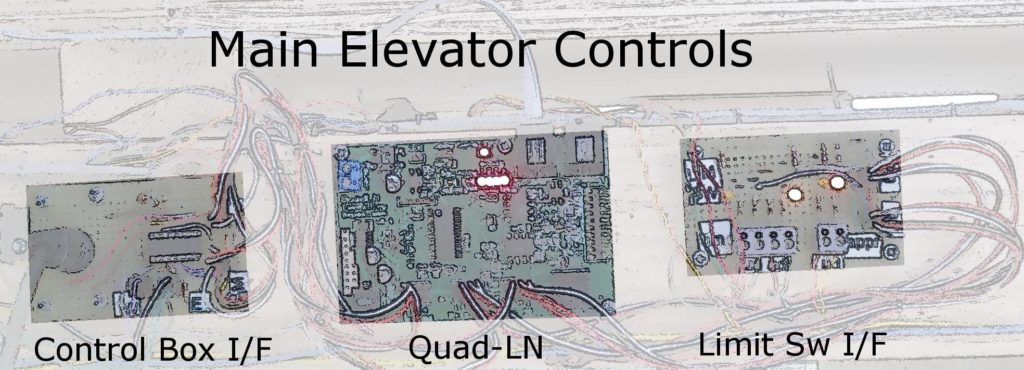
Elevator control elements that serve both the East and West motors, based upon a Tam Valley Depot Quad-LN board. Why use a Quad-LN? Well it is an incredible LocoNet® stationary decoder that will do just about anything! (The fact that I developed the software for it might have factored in there somewhere.) 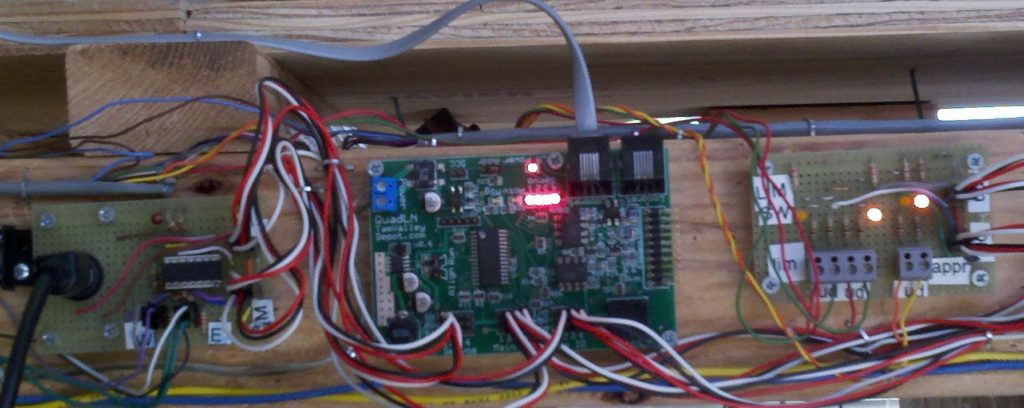
Elevator controls that serve both the East and West motors. 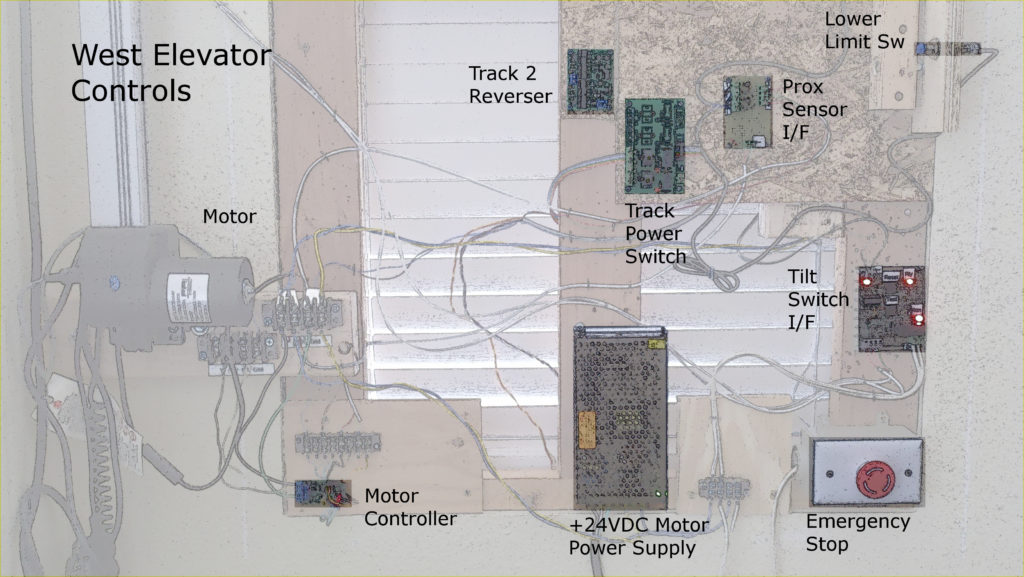
Elevator control elements that serve the West motor. The motor controller is from Pololu. The two actuators were matched by adjusting controller parameters for forward and reverse speed. Just like matching speed curves in a consist! 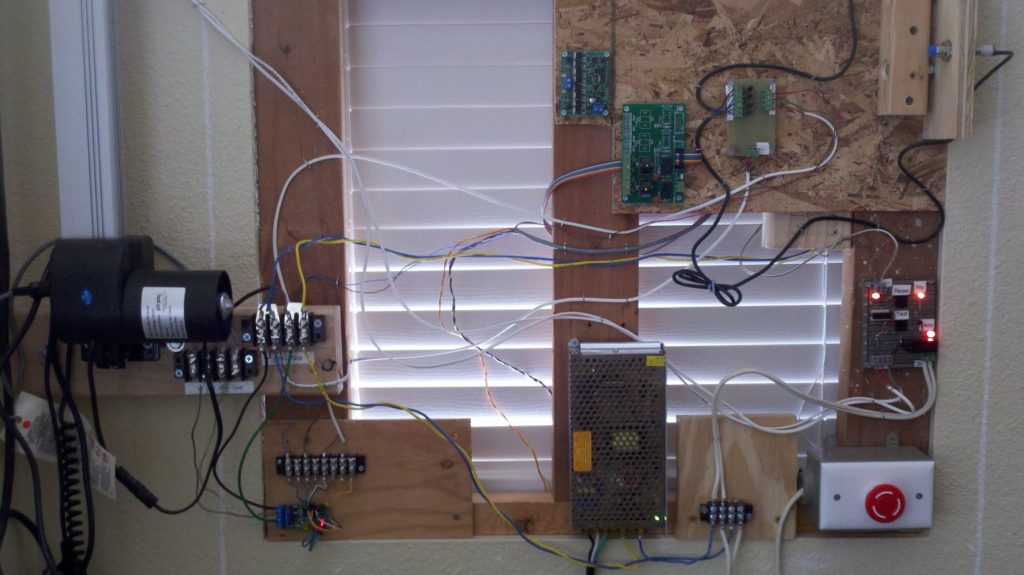
Elevator controls that serve the West motor. 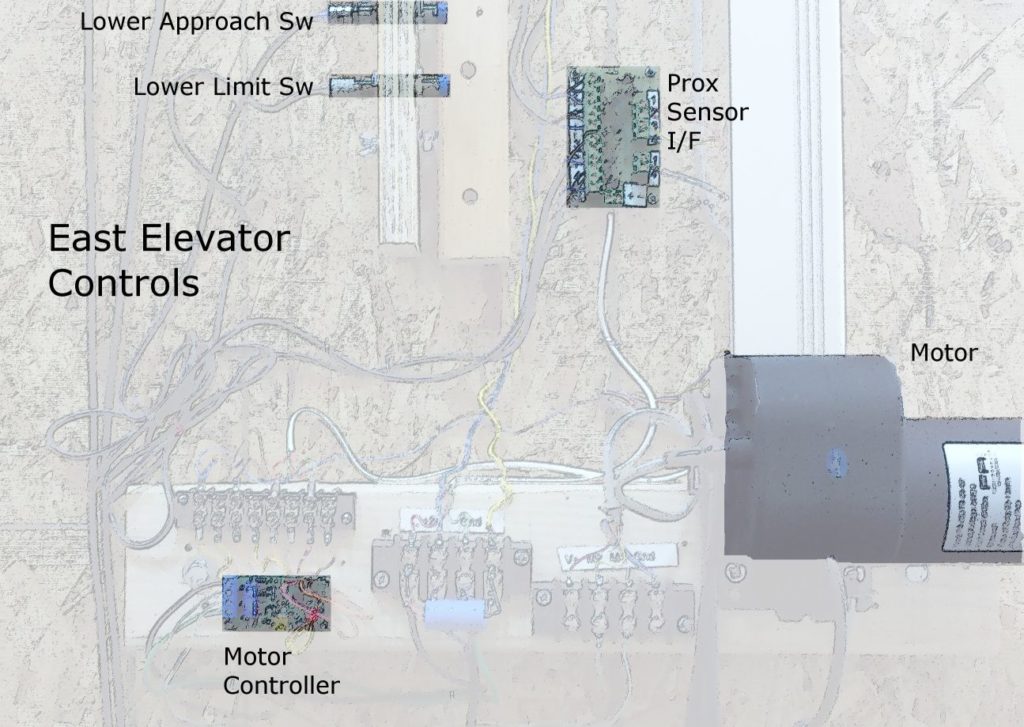
Elevator control elements that serve the East motor. The East side has the Approach Sensors that are used to slow the motor speed prior to reaching the Limit Sensors. 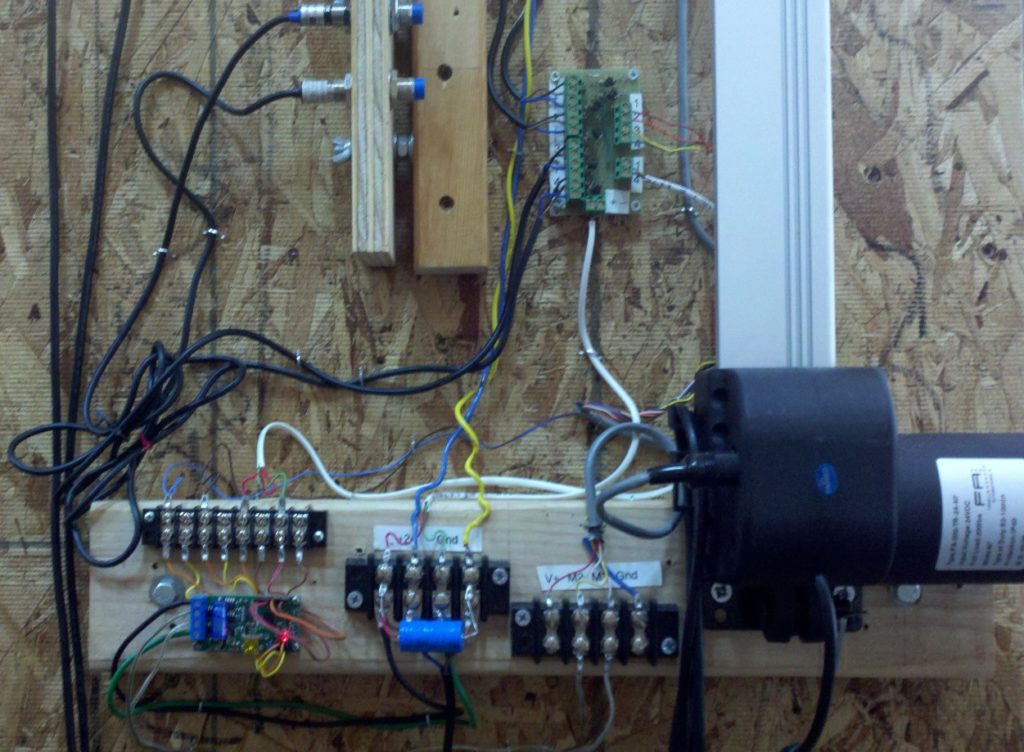
Elevator controls that serve the West motor. 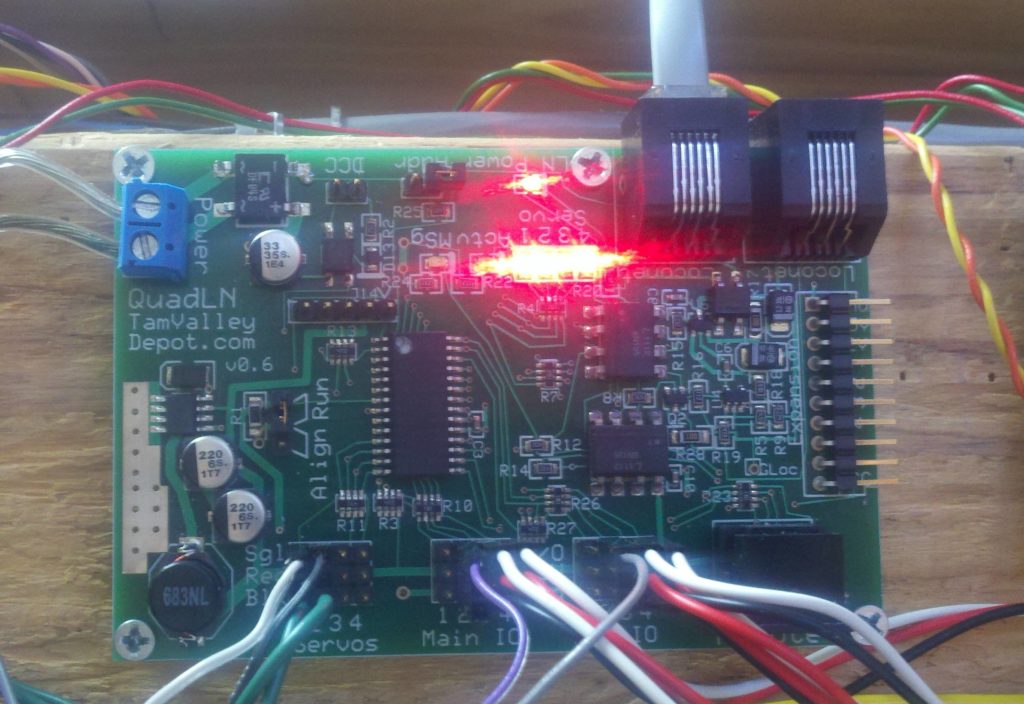
The Quad-LN stationary decoder from Tam Valley Depot. 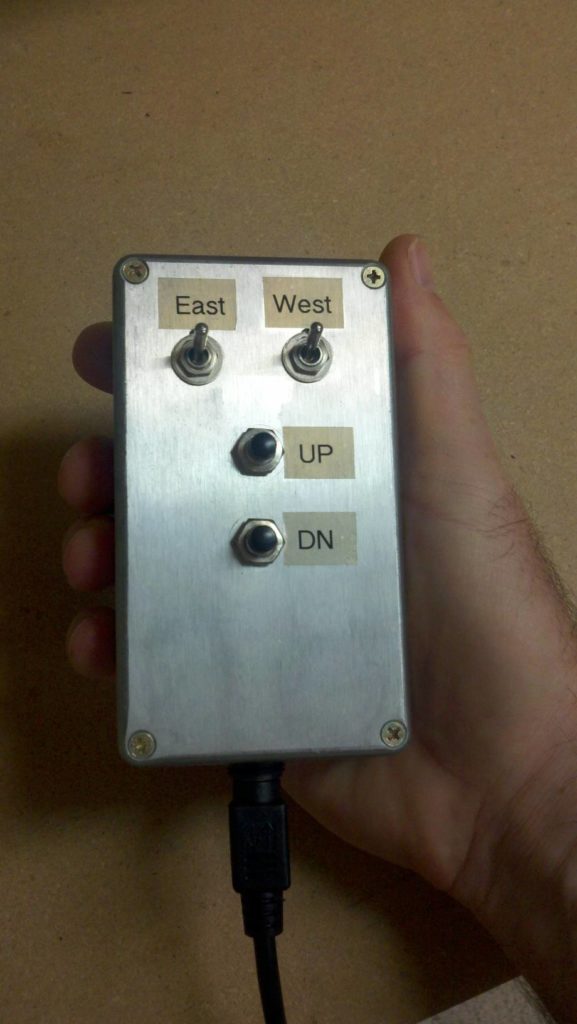
Either or both elevator motors can be jogged manually using this control box and interface board. 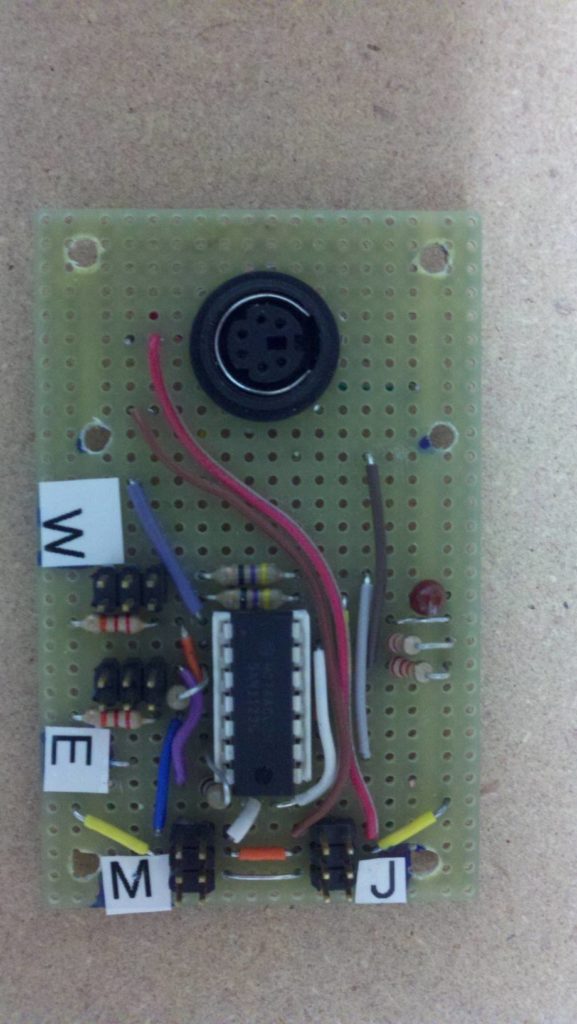
The interface board connects the control box to the Quad-LN that runs the elevator. 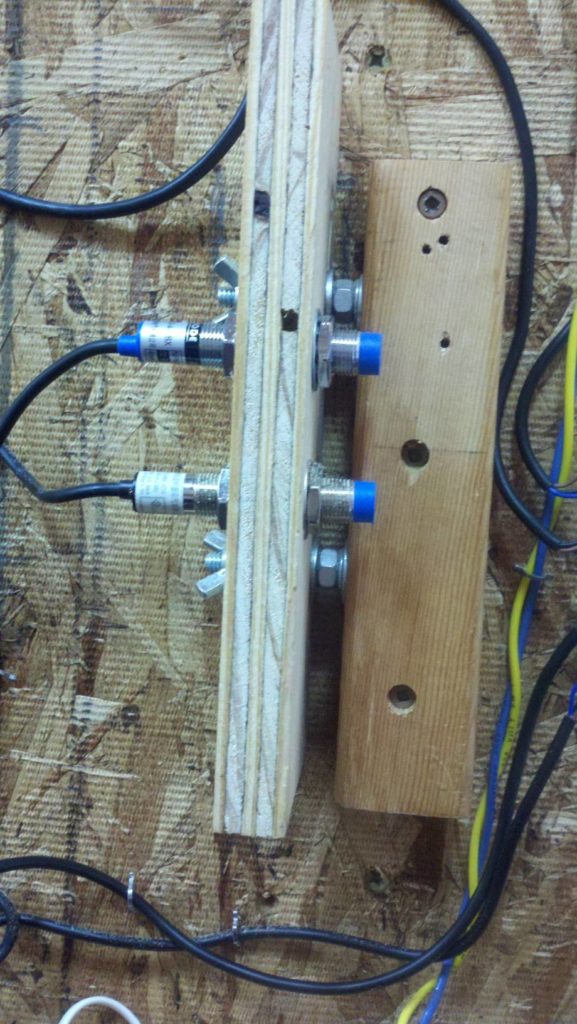
This view shows the adjustable bracket holding the Approach and Limit proximity switches at the East motor Down position. Only the East side has Approach sensors. The control system includes a tilt sensor on the elevator that will trip if the motors get out of sync, so only one pair of Approach sensors were required. 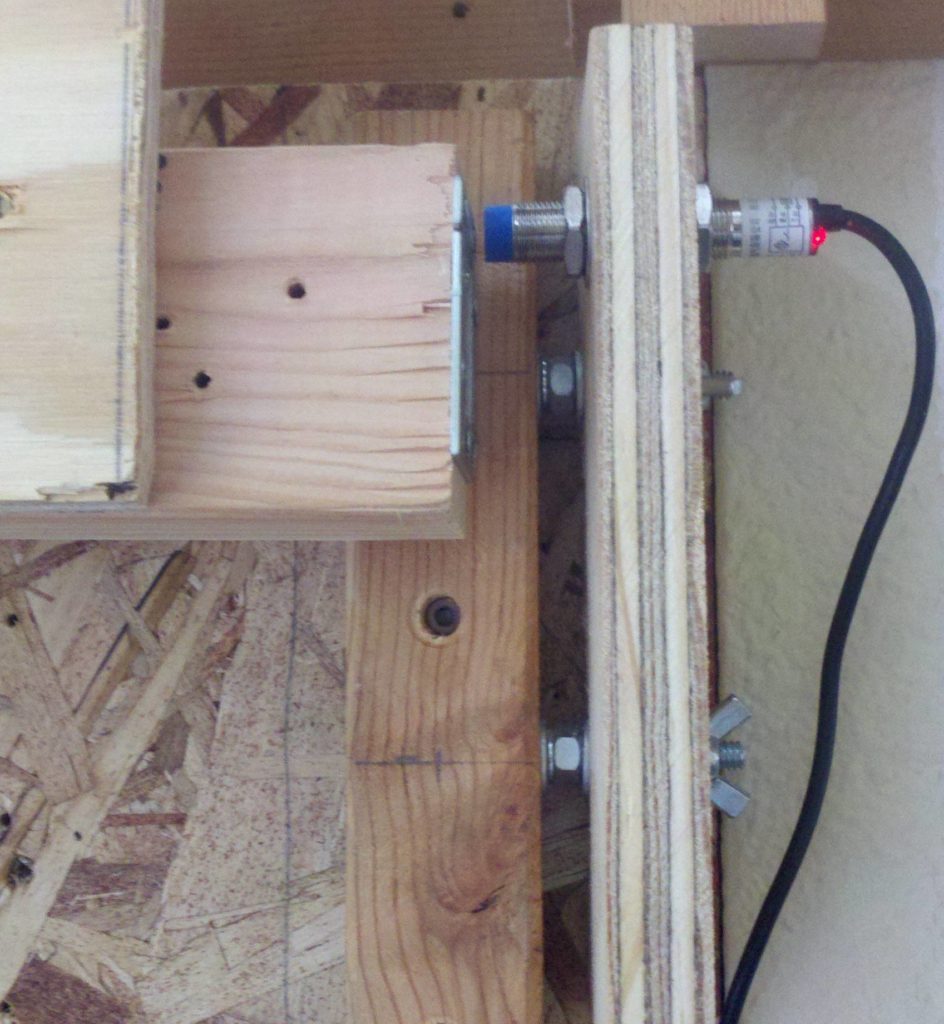
The elevator is stopped at the West motor Upper Limit sensor. The sensor was triggered by the metal plate on the end of the bracket attached to the elevator. Repeatability is very good, and made even better by the switch from high speed to low speed in advance of the limit. 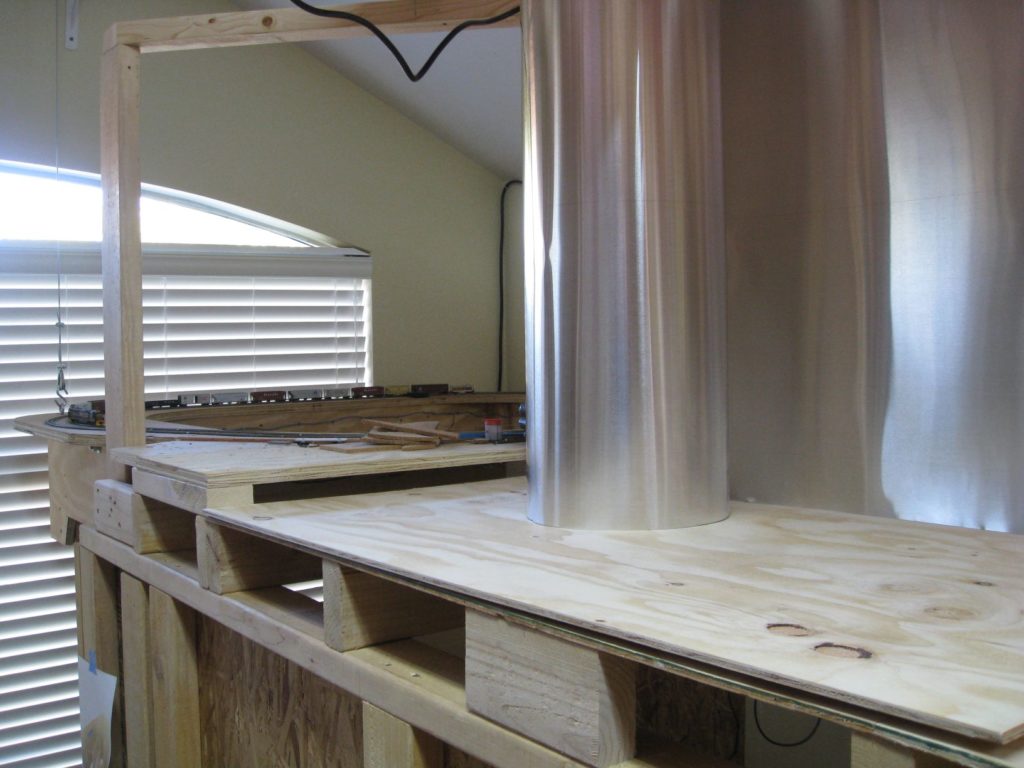
The mushroom backdrop material is 28″ aluminum roll valley flashing. I could only find trim coil in 24″ width but this 28″ roofing product covers the entire support wall. By installing the plywood subroadbed first (2″ foam will go on top later) and using it as a support, I was able to unroll and hang the nearly 50′ backdrop myself. Jan 3, 2013. 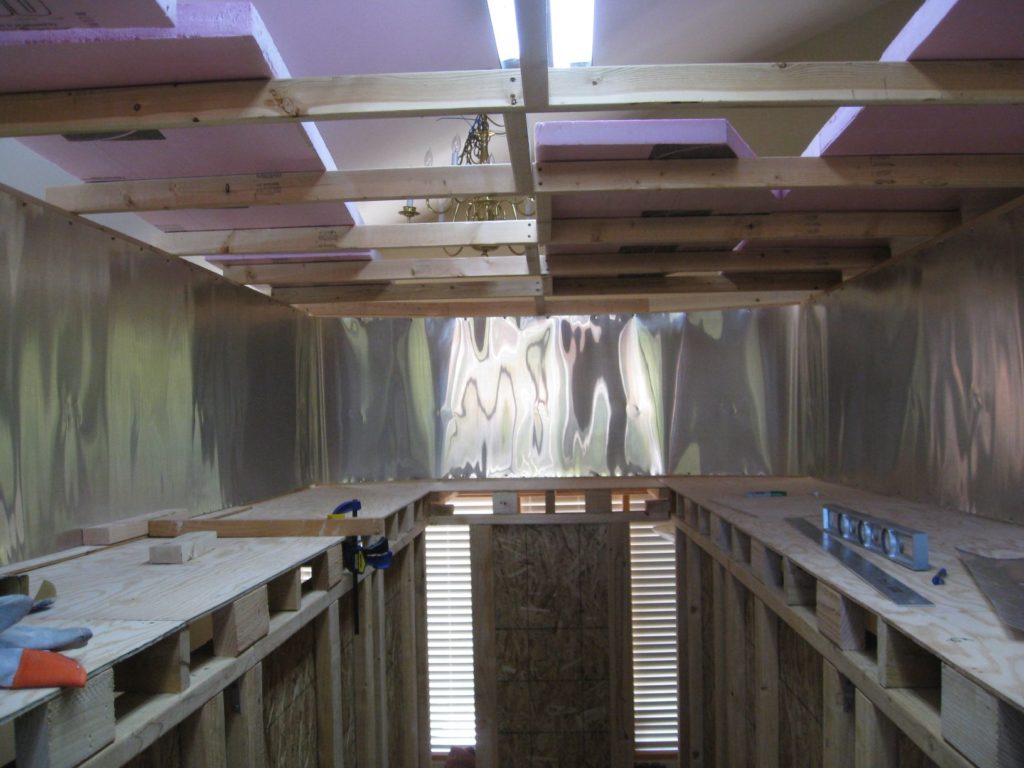
Here the whole mushroom backdrop is installed and ready to be painted. First coat will be an aluminum primer and then the sky blue. I did a test using Glidden “Blue Note” (GLB29) and it looks like a very good match to Colorado sky. Jan 3, 2013. 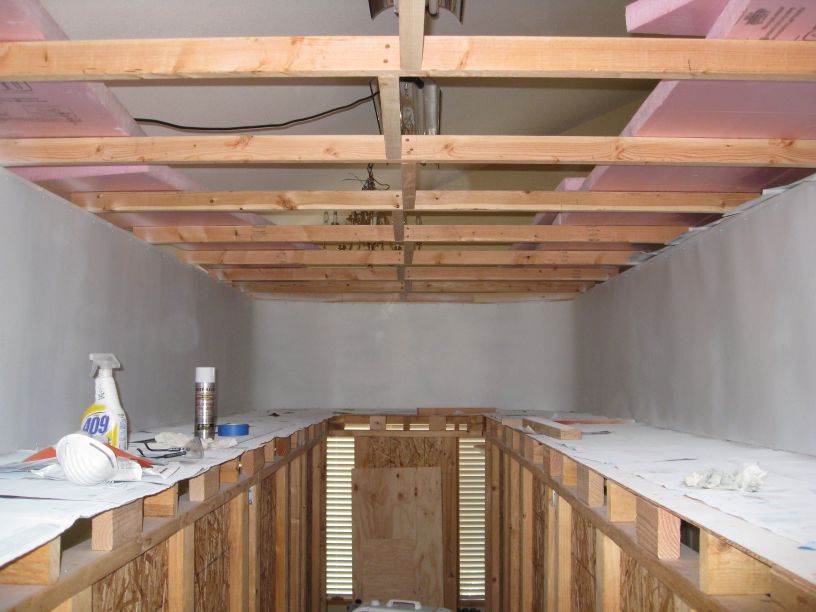
Primed the aluminum with Rustoleum Aluminum Primer. Coverage looks good and the dings in the flashing are much less visible now. May 1, 2013. 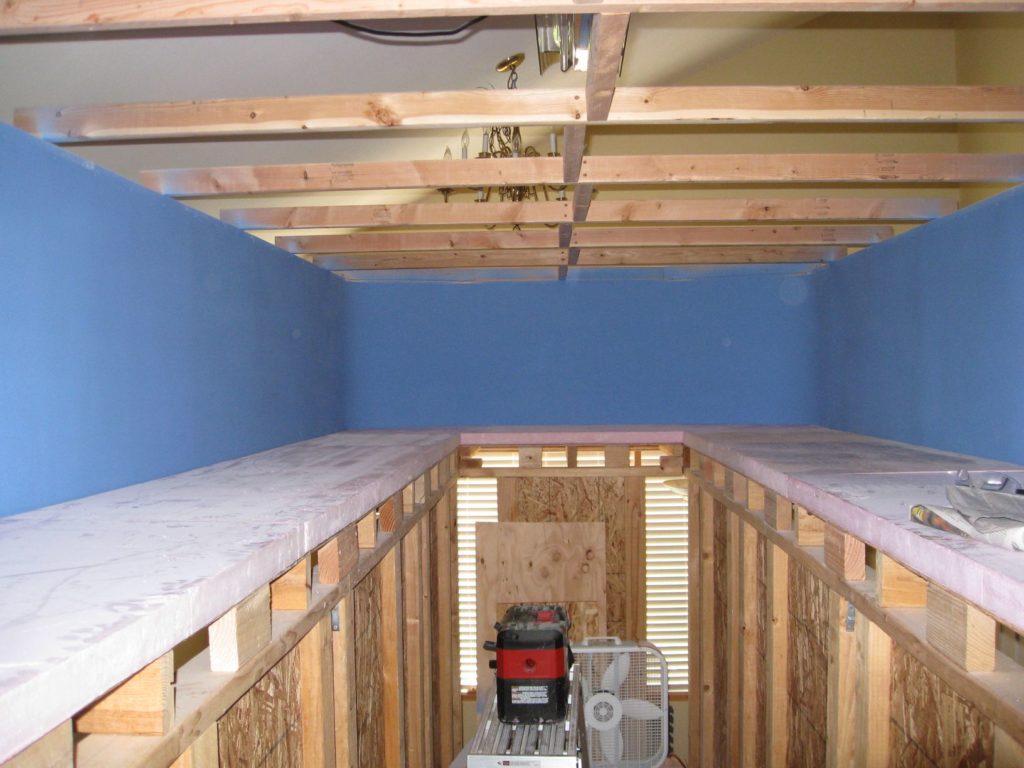
Blue sky in Colorado! After comparing dozens of paint chips and (too) many paint samples to favorite photos of Colorado, we finally settled on Frazee Azure blue in a flat, interior latex. Really looks good. May 30, 2013. 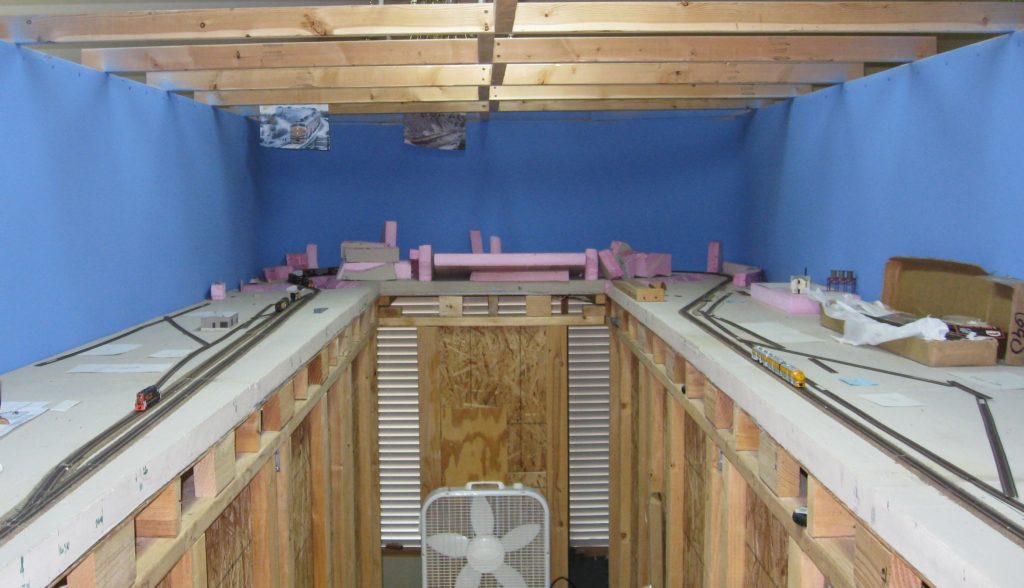
Granby (left) and Kremmling (right) finally starting to take shape. Mainline is in and running. Byers Canyon is at the end of the aisle, with ME deck girder bridge on the left. April 14, 2014.
Organizations
Vendor Links

 N3IX Engineering

